The Procedure of Completing a TIG Welding Project
 Dec. 17, 2024
The Procedure of Completing a TIG Welding Project
Welders can use TIG welding for a variety of metals such as titanium, aluminum, and copper. The method is also essential for completing tricky projects like curving or rounding off any metal object. Below are the steps to follow to complete a TIG welding project.
1. Choose Your Electrode
Always pick an electrode with regards to the type of metals being welded. If you are welding aluminum, the best rod to use is a pure tungsten rod.
2. Prepare the Rod to be Used
Preparing the rod involves grinding it to the desired point of usage. Grinding the rod is usually required, especially if it is brand new, rounded on the tip, or not pointed. By grinding, you’ll have reduced the energy used during welding.

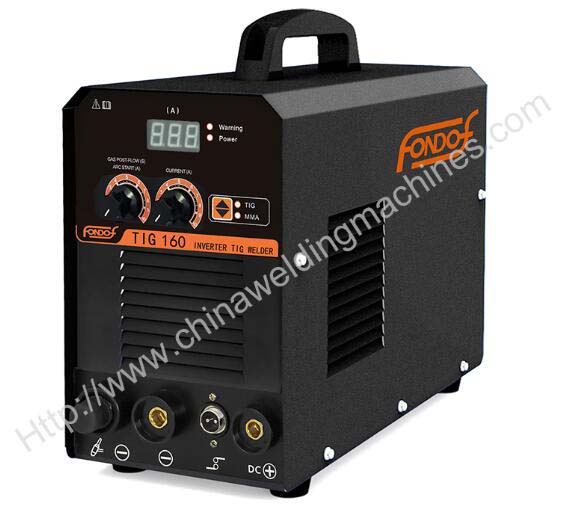
DC TIG WELDING MACHINE TIG 160
3. Place the Electrode into the Collet
This process involves unscrewing the electrode holder and inserting your electrode then screwing it back. You can skip this stage if your electrode is already inside.
4. Select the Settings for TIG Welding
A TIG welding machine provides welders with three options in settings: AC, DCEP, and DCEN. Alternating Current (AC) settings are best used when welding metals such as aluminum. When balling your tip or stick, welding Direct Current Electrode Positive (DCEP) is the most preferred. Welders using steel metals prefer using Direct Current Electrode Negative (DCEN).
The next setting is the “Cleaning/Penetrating” settings to place it on the sharp end. When you are using a scale of 1 to 10, ensure you set it at gauge 7. Switch on the “Air on” for up to 5 seconds and set the “Max Amps” at around 250.
5. Get the Shielding Gas Ready
When welding using aluminum metals, use pure argon for this process and use a mixture of argon and carbon dioxide when welding steel.
6. Get Your Metal and Welding Table Ready
You will require a large metallic area to allow sufficient electricity to flow through the metal. Alternatively, you can use a large, flat sheet of metal in place of a welding table. Scrub off the surfaces using a wire to remove dust and other impurities. Cleaning ensures you end up with prettier and precise welds. Use acetone to wipe the welding rods down.
Ensure you clamp the metals before beginning the welding process to keep the welds in place. Most welders also prefer spraying the welding table with anti-spatter to prevent metal leaks from sticking on the welds.
7. Gearing Up
Gearing up is necessary for your safety and protection against radiation, heat, sunburns, and harmful gases produced during welding. Welders are required to put on thick gloves, a welding helmet, closed-toe shoes, and a welding coat.
8. Do the Final Check
At this stage, you must counter-check if all equipment is in place and functioning optimally. You should also check if your gear is well worn and tucked up as recommended in a welder’s manual. Proceed to place the electrode in your dominant hand and test it. While testing, ensure the electrode moves freely and is easy to work with before you begin welding.
TIG Welding for Beginners
To understand the process of TIG welding for beginners, here are the essential tips to consider.
1. Use the Minimum Power
Using too much power can cause the weld to burn hence the need to use minimum power. Using minimal power also allows you to develop a puddle technique suitable for creating strong and stable welds.
2. The Angle of the Torch
When welding, the torch should be at least 15-20 degrees away from the material’s surface and electric current flow path. This angling will allow easy access to the filler material and increase visibility on the part being welded.
3. Keep the Welding Materials Clean
Ensure the welding metals are clean for a strong welding arc. Use a wire brush to scrub off dust and other impurities from the metals.
4. Avoid Melting the Filler Rod Directly
Remember the TIG welding principle that the torch melts the base metal while the molten puddle melts the filler material. Direct melting will result in a weak bond on the weld.
5. Wear Protective Gear
Since tungsten electrodes emit low radiation levels, put on shading lenses helmets. You also need to wear a respirator to protect yourself from toxic gases and fumes. Ensure you also weld in a well-ventilated area to reduce the chances of dust from compromising welds’ quality.
6. Use the Correct Type of Tungsten
Different types of metals work with varying types of tungsten. Working on aluminum surfaces, use green tungsten and use red tungsten for steel metals.


